









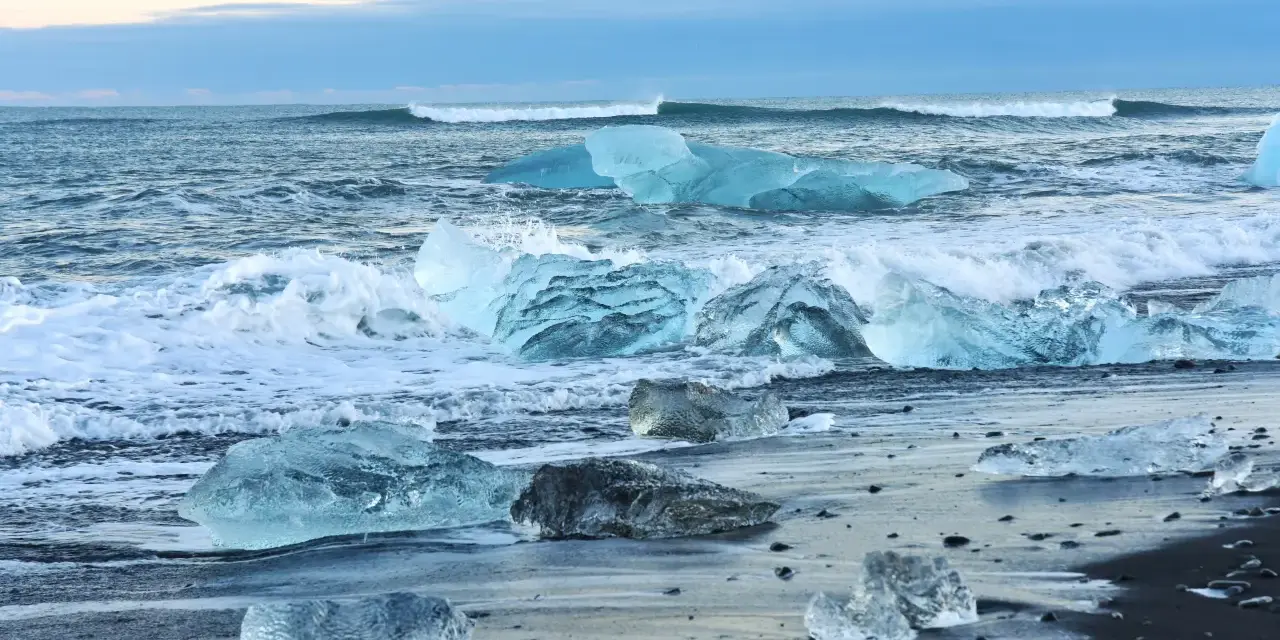
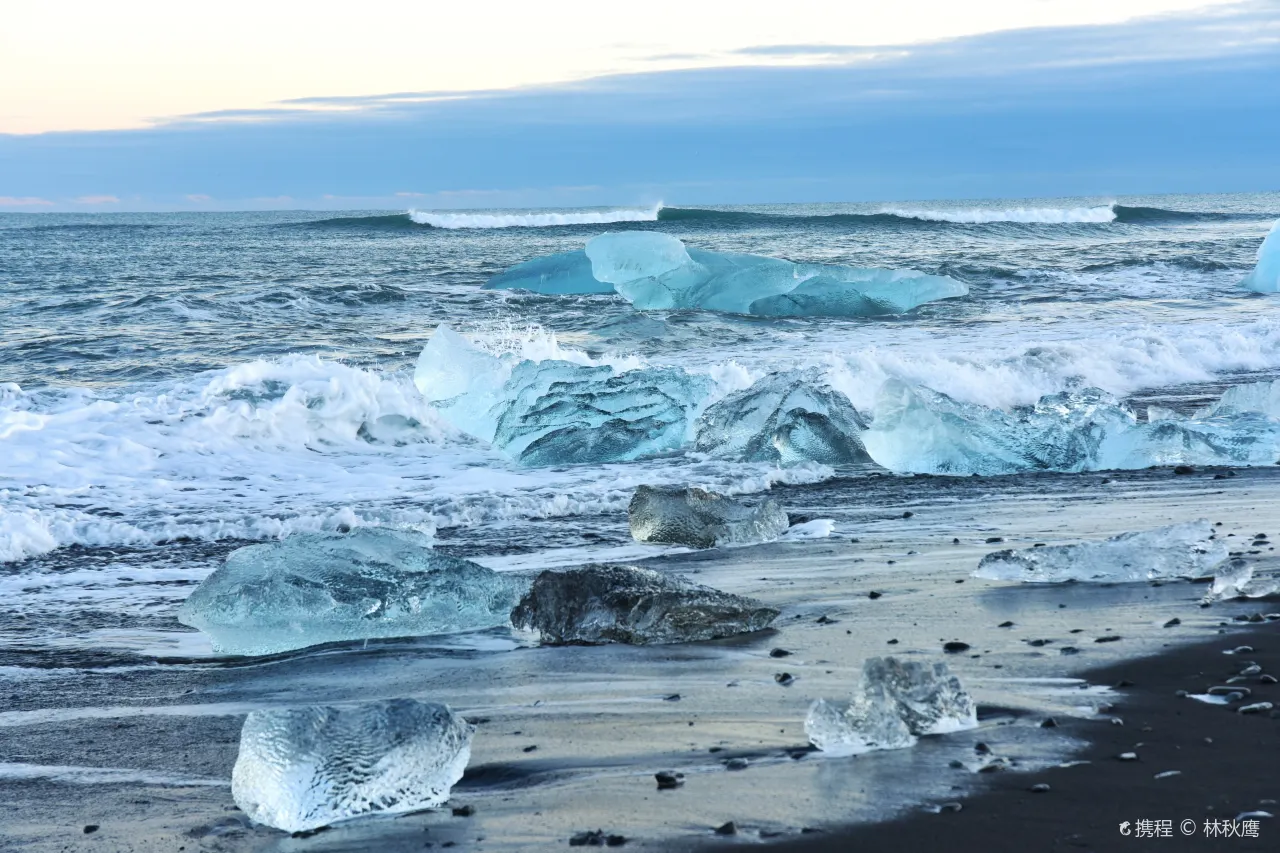
This is spot 4 of 20 in our Iceland Photography Guide — the beach where the lagoon delivers its ice to the surf. Diamond Beach (Breiðamerkursandur) is Jökulsárlón’s outflow door: icebergs that drift out of the lagoon wash back ashore onto black sand, and at low tide they sit there glinting like broken glass — hence the name. The master guide’s field tip compresses everything we have learned in five seasons of shooting it: long exposure; stay behind the berm — sneaker waves are serious. This is the most dangerous popular photo stop in Iceland, and the safety discipline is not a footnote here, it is half the guide.
It is also one of the most reliable: unlike the mirror spots, Diamond Beach needs no calm, no particular wind and barely any luck — the ice arrives on its own schedule and the tide decides where it sits. This guide covers the access points, the tide logic, the sunrise sparkle that earns it top billing, the long-exposure technique that makes the surf read as silk, and the rules that keep every session a story you get to tell afterward.
Key takeaways
- Sunrise is the headline: low, backlit sun through clear ice is the sparkle shot; arrive forty minutes before dawn and stay an hour past.
- Long exposure is the technique: 1–8 seconds on the swash turns breaking surf into silk around the bergs; a 6-stop ND is standard kit here.
- Stay behind the berm: the sand ridge at the high-tide line is the safety line — never shoot from the wet sand when sets are working, and never turn your back on the sea.
- Tide is the composition tool: low tide strands the biggest bergs high on the flats; high tide compresses the ice toward the channel mouth.
- Two beaches, one gate: the east and west lots serve the same ice field — walk between them (10 minutes) rather than re-parking.
Quick answer: park at the beach lot on the south side of the Ring Road bridge, check where the berm line runs before you unpack, and work low-tide windows for the big stranded bergs. Sunrise with a 6-stop ND, tripod half-height, f/11, and one-to-eight-second exposures is the core recipe. Watch the ocean the entire session — this beach has taken lives, and every experienced shooter on it keeps their eyes up.
Access and the two beaches
Diamond Beach is the stretch of black sand on both sides of the river mouth that drains Jökulsárlón to the sea. Access is free and immediate: a signed lot on the east (north) side of the bridge and a second on the west (south) side, each two minutes’ walk from sand. The ice field reorganises with every tide and storm, so no fixed map exists — the practical move is to check both sides on arrival and commit to whichever has the better bergs for the light direction you are shooting.
The east lot is the busier one (it faces the sunrise across the open water and photographs the bigger grounded bergs), while the west side catches warmer evening light and gives the classic “ice against sunset surf” frames. Walking between them along the sand takes ten minutes and is the best way to find a berg that has not been tripod-stamped yet. Parking fills fast after sunrise in season — the lot empties with the buses, so patience beats circling.
Kit note: the sand is coarse, wet and wind-carried — the same open-lens hazard as Stokksnes. Lens changes happen in the car, not on the beach, and a rain cover doubles as a sand shield.
The sunrise sparkle window
The master list gives Diamond Beach “sunrise sparkle”, and it is specific: when the low sun sits directly behind or beside a clear berg, light refracts through the ice and the whole frame glitters — this is the only hour the beach earns the name. The effect lasts from first sun to roughly an hour after, depends on where the bergs sit (east-facing beach, sun rising over the sea), and repeats every clear morning. Sunset gives warmer colour but backlights nothing; the sparkle belongs to dawn.
Gray days have their own script: overcast makes the ice’s blue subsurface glow saturated, and flat light is perfect for the “bergs as sculpture” frames — monochrome sand, blue ice, no blown highlights. Storm days are for the surf: big sets, foam trails, and the long-exposure game. The beach never dies; it just changes genre with the sky.
Blue hour and night belong to the aurora-and-ice genre — clear winter nights put green light over stranded bergs, and the beach is one of the few coastal places where the master-list aurora recipe works right beside the surf. The same safety rules hold at night, doubled: headlamp, eyes on the ocean, and no solo sessions past dark.
Tide logic and berg placement
The ice’s position is a tide function. On a falling tide, bergs that washed in with the high water strand progressively higher on the flats — low tide is when the “diamond field” spreads widest and the biggest bergs sit farthest from the water. On a rising tide, the surf reclaims the sand and clusters the ice near the channel mouth; that compression can produce the densest single-frame masses, but it also narrows the safe shooting zone. Check the local tide table (Höfn’s tables apply) and plan the session around the low-water window when you can.
Storms reset the board entirely: a single October night can clear the beach or bury it in fresh bergs. This variability is why the master guide’s tip says walk the whole field first — the ten minutes spent scouting saves an hour of tripod work on the wrong berg. Look for three properties: a clean silhouette against the sky or surf, transparency in the lower body (the sparkle material), and a wet base that will take long-exposure water without a drying gap.
Settings and technique
The signature look is long-exposure water around still ice: tripod as low as the terrain allows, f/11–f/16 for depth across sand-and-berg frames, ISO 64–100, and shutter 1–8 seconds depending on how silky you want the swash. A 6-stop ND makes those shutter times available in daylight; in gray light you may not need one at all. Shoot RAW, expose for the ice (+0.7 EV habit), and let the sand fall dark — the contrast is the image.
The sparkle frames invert the logic: you want the fast glass-through-ice, so drop the ND, shoot f/5.6–f/8 at 1/125 s or faster, and stop moving around the berg to catch sun-dogs of light in the crystal. Two techniques in one session — sparkle for the hero, long exposure for the portfolio — is the Diamond Beach standard day.
Reflections on the wet sand extend the mirror game: after a wave retreats, the film of water on the flat sand mirrors the berg for a few seconds; ISO bump and 1/15–1/4 s catches it without the ND. It is the most-missed shot on the beach because it requires standing still at one berg through several sets — patience is a setting.
Sneaker waves — the non-negotiables
Diamond Beach and Reynisfjara share the same ocean and the same hazard: sneaker waves — sudden surges that run far up a beach that looked calm for minutes. The master guide embeds the rule in the table (“stay behind the berm — sneaker waves are serious”) and safetravel.is carries the national warning; this beach has been fatal. Our field discipline, unchanged since our first visit:
- Identify the berm line — the sand ridge at the last high tide — before unpacking, and stay above it when sets are working.
- Never turn your back on the ocean, even for a lens change; work facing the surf.
- Never stand on the wet sand below the berm for a “better angle” — there is no frame worth it.
- Keep children on the dry sand only; the bergs near the waterline belong to the waves.
- If a surge reaches your tripod position once, relocate for the rest of the session — the ocean has made its point.
The ice itself carries the second rule: never climb stranded bergs. They roll when the sand under them shifts, and the surf side of any berg is exactly where the next wave lands. Our safety guide covers the 112 and safetravel.is habits that every beach session here should include.
Seasons and pairing the day
The beach works year-round with seasonal accents. Summer delivers green-blue bergs, midnight-sun glow and the biggest crowds (walk ten minutes east and you have the field to yourself); autumn brings the storm surf and the first auroras; winter is the full package — snow-dusted ice, long blue hours, aurora over the surf — with the shortest safe daylight windows; spring is quiet, brown and wind-heavy but the ice supply never pauses.
Pair it with the lagoon across the bridge: Jökulsárlón for the bergs in context, the beach for the bergs in surf — one parking decision, two of the master list’s top five spots. The complete Diamond Beach guide covers the beach’s own logistics and history in depth, and the Ring Road guide shows how to sequence the whole southeast in one or two days.
Frequently asked questions
Is Diamond Beach dangerous?
It is the most dangerous popular photo stop in Iceland because of sneaker waves, and the danger is manageable with discipline: know the berm line, face the ocean, never shoot from the wet sand. Every fatality and near-miss on this beach happened below the line the master guide and safetravel.is draw. Follow the rules and the risk collapses; ignore them and no camera is worth it.
When should I shoot — sunrise or sunset?
Sunrise for the signature sparkle (backlit ice) and the cleanest long-exposure water; sunset for warm colour on the west side. If you have one morning in the southeast, spend it here at dawn and give the lagoon the evening.
What if there is no ice on the sand?
Rare, but it happens after sustained west winds. The ice is always in transit nearby — shoot the lagoon and return at the next tide, or walk both sides of the river mouth; bergs strand unevenly and one side often holds while the other is clean.
Do I need ND filters specifically for this beach?
A 6-stop ND is the one filter we consider standard kit here — it converts daylight surf into the silk-and-still-ice look that defines the beach’s portfolio images. Polarizer optional; the sparkle shots want it off, the midday dune frames want it on.
The full field list lives in one place
Spot 4 of 20 — the master guide ranks all twenty locations by region, best light and a field tip for each.
Go deeper: the complete Diamond Beach guide, the Jökulsárlón complete guide for the ice’s upstream story, and the safety and 112 guide that every beach shooter should read once.
Sources & official references
- Sneaker-wave guidance and incident history: safetravel.is and site signage at Breiðamerkursandur (checked 2026).
- Tide planning: coastal tide tables for the Höfn area (Icelandic Meteorological Office / published tables).
- Weather and wind windows: en.vedur.is hourly forecasts for the southeast coast.
- Field discipline and technique: editorial photography trips across seasons 2022–2026 by the Iceland Travel Guides team.
- Master list context: Iceland Photography Guide — 20 Best Photo Spots (this site).
