









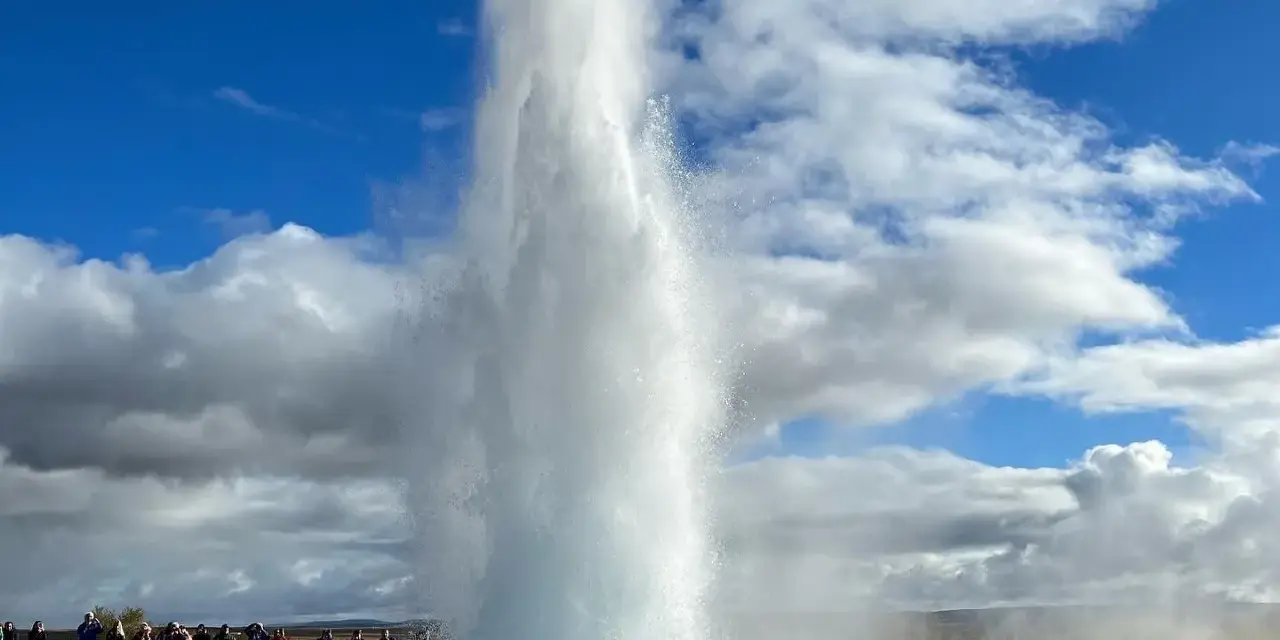
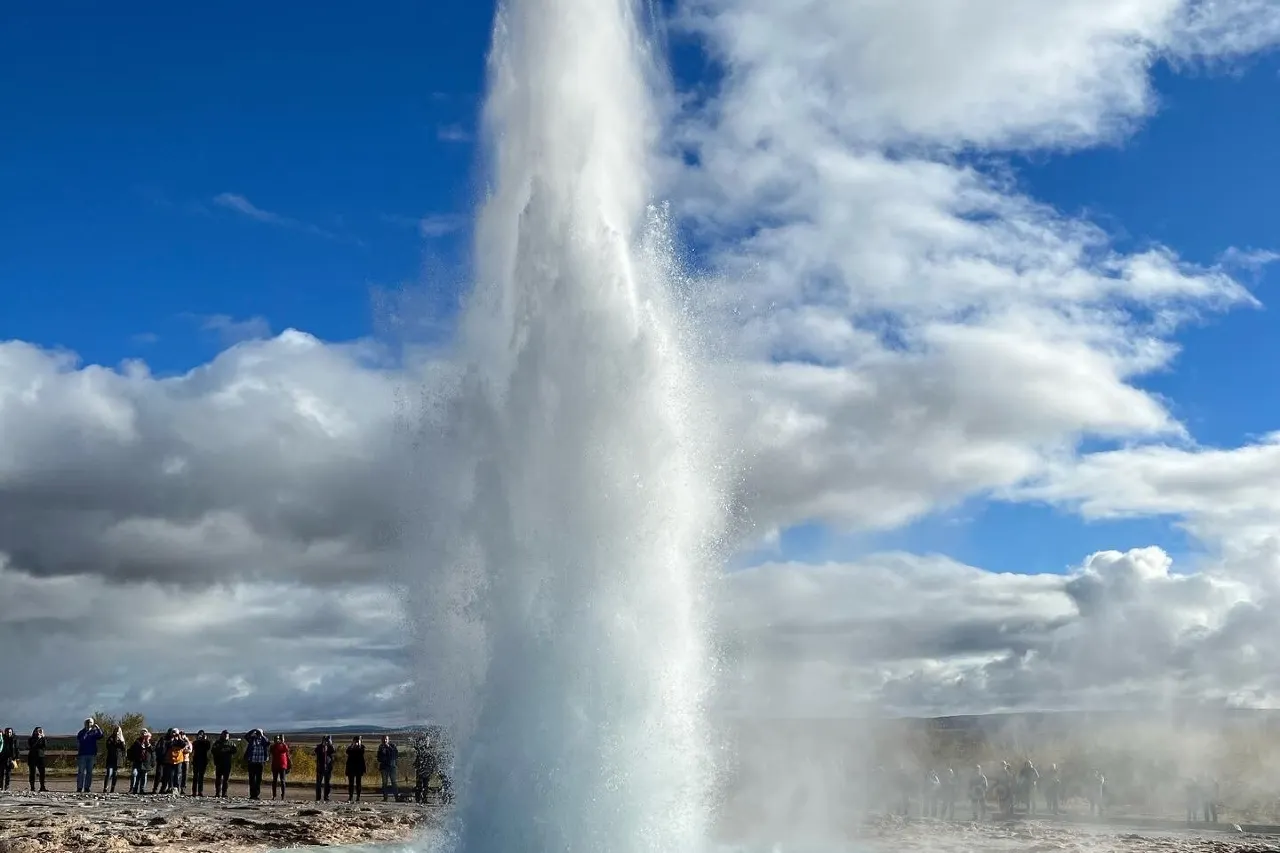
This is spot 9 of 20 in our Iceland Photography Guide — the eruption clock. Strokkur, in the Haukadalur geothermal valley on the Golden Circle, erupts every five to ten minutes, fifteen to twenty metres tall (occasionally thirty), reliably enough that photographers plan sessions around a rhythm instead of waiting hours like at geysers elsewhere in the world. The master guide’s field tip is the technique in one line — “roughly a 5–10 minute rhythm — fast shutter freezes the column” — and this guide turns that line into a full shooting system: the bubble-stage tell, the backlight trick, the burst discipline and the wide-versus-long question.
Strokkur is also the easiest “action” subject on the list: no boats, no tides, no hikes — a small area, paved paths, a geothermal field full of secondary subjects (the steaming blue pools, the little Geysir, the color-scaled hot springs) that fill the frames between eruptions. This guide covers access, the eruption rhythm, the compositions, the settings that actually freeze the column, and the afternoon-and-evening light that makes each cycle different.
Conclusiones clave
- Watch the bubble stage: the pool swells into a pale-green dome seconds before the blast — that dome is your shutter-release trigger, not the eruption itself.
- Fast shutter or nothing: 1/1000–1/2000 s freezes the column; long exposures turn it to mist. The master guide’s rule is absolute here.
- Shoot bursts of 3–5: the column wobbles, widens and drifts — bursts beat single frames, and buffer recovery fits inside one eruption cycle.
- Backlight the steam: low sun behind the eruption turns the steam column into a glowing plume — evening sessions outperform midday even with identical eruptions.
- The field is the fallback: between eruptions, the steaming pools and color-scaled springs of Haukadalur fill the portfolio — the wide lens earns its slot here.
Respuesta rápida: pick a position downwind at 30–50 m with the sun behind Strokkur if the hour allows, lens on 24–70 mm (long lens for tight columns), shutter priority 1/1600 s, bursts of five, eyes on the bubble stage. Every eruption differs — height, wind drift, sky behind it — so shoot at least four full cycles before moving. Then walk the field: the blue pools and steaming vents are the intermission portfolio.
Access and the field layout
The Haukadalur geothermal field (the Geysir area) sits on Road 35, twenty minutes east of Gullfoss, with a large car park, hotel, café and a paved path into the field. Strokkur is a five-minute walk from the visitor centre, and the whole active zone is compact — a walking circuit of maybe fifteen minutes that passes every photographable pool. Entry is free; the paths are roped and the rules are absolute for a reason: this is active geothermal ground with water near boiling and crust that fails without warning. Stay on paths, always — the master guide’s etiquette section covers the logic, and here it is not a suggestion.
The great Geysir itself — the one every geyser is named after — erupts rarely (it takes earthquake help), so do not budget time for it; Strokkur is the show, and the field’s smaller features (Litli-Geysir’s frequent small bursts, the vivid blue Blesi pool, the muddy cauldrons) photograph well in the gaps. Coaches cycle constantly in season; eruptions, however, happen whether or not the crowd is watching, and the field is big enough that patience finds you a clear angle.
Winter access is easy — the paths are maintained and the steam is constant; the eruption against snow and low sun is a legitimate seasonal genre. The en.vedur.is forecast matters mostly for wind, which steers the steam column and changes every composition.
The eruption rhythm and the bubble tell
Strokkur erupts on a five-to-ten-minute rhythm, and the cycle has a visible tell: in the final ten seconds the pool surface swells into a pale dome — the “bubble” — before the column punches through. That dome is the photographer’s trigger: pre-focus on the vent, shutter half-down on the dome, burst as it bursts. Watching the water surface instead of the crowd or the phone is the single habit that separates the keepers from the misses.
Each eruption is different — height (15–20 m typical, up to ~30 m), wind drift, duration (the main column lasts about three seconds, the steam phase much longer), and the sky behind it. Shoot at least four full cycles before repositioning; the variation between cycles is bigger than the variation between positions. The steam phase that follows is a second subject: 1/250 s keeps its structure, and against low sun it glows.
Compositions that work
The eruption is the subject; the composition question is what carries the column:
- The clean column: 50–100 mm from 40–60 m, the water column against sky or hillside, nothing else in frame. The tight frame is the portfolio shot — every tourist has the wide, few have the compressed column with structure visible.
- The landscape blast: 16–35 mm with the column anchored in the valley — green hillsides, the steaming field around it, a human figure for scale at path distance. The wide needs the eruption to be tall and the sky to be interesting; it fails flat-gray.
- The backlit plume: evening sun behind the eruption, steam phase glowing — 70–200 mm, exposure on the plume, the column as silhouette-and-light. This is the frame that makes an evening session mandatory at least once.
- The pool stills: between eruptions, the field’s pools — Blesi’s blue-and-clear pair, the boiling cauldrons, the mineral scale terraces — 24–70 mm at f/8, polarizer for the water surfaces. The intermission is half the portfolio.
Safety is a composition constraint: the roped perimeter is close enough for the wide shots and far enough for the tight ones with a modest zoom. Do not cross ropes for any frame — the crust failures here are real, and the park’s rules exist because of them.
Settings that actually freeze the column
The master guide’s line — fast shutter freezes the column — translates to: shutter priority 1/1600 s (1/1000 s minimum), auto-ISO capped at 3200, f/5.6–f/8, burst mode, back-button focus locked on the vent. The column moves faster than intuition: at 1/250 s the water reads as smoke; at 1/1600 s the droplet structure and the column’s rim stay crisp. Exposure on the column (+0.3 to +0.7 EV) keeps the white water bright without clipping the sky.
The steam phase is a different exposure problem — softer, dimmer, constantly drifting: 1/250–1/500 s, exposure on the plume, and a deliberate low-contrast edit (steam hates hard blacks). Between bursts, review one frame per cycle only — chimping through a 10-minute rhythm loses you two eruptions.
Video is a legitimate secondary capture here (the three-second arc is the list’s most filmable subject); if you shoot both, run the still rig first through two cycles, then video one cycle — the rhythm is reliable enough that switching costs nothing but attention.
Light through the day
The master list’s “any eruption” is honest — Strokkur performs in all light — but the genres rotate. Bright midday gives the crisp column and the field’s colors; gray gives the clean white-column-against-nothing shot that isolates the eruption; afternoon light warms the field and starts the steam glow; evening backlight is the plume’s golden hour; and in winter, low sun turns every eruption into a backlit event with the steam visible for hundreds of metres. Wind is the real variable — a 10 m/s day pushes the column sideways and the steam into your frame; the hourly forecast picks the evening worth staying for.
Aurora note: Strokkur is in the master guide’s aurora-wildcard territory — on clear dark nights the field photographs under green light, and an eruption under aurora is a real (if lucky) frame. The tripods-and-manual-focus rules from the master guide apply; the eruption’s brightness actually helps the exposure.
Seasons and pairing the Golden Circle
The field photographs year-round with constant performance; seasons change the scenery, not the show. Summer is green and endless-light; winter is snow-and-steam (the strongest single seasonal contrast on the whole list); autumn adds color to the valley rim; spring is brown and windy. Pair it per the master guide’s implied order: Þingvellir morning, Strokkur midday, Gullfoss afternoon — one Circle, three genres, all on the master list.
El Golden Circle guide covers the route’s logistics and the geothermal field’s history (Geysir’s eruptions gave the world the word), and the Mývatn geothermal guide points north for the field’s wilder cousin at Hverir.
Frequently asked questions
How do I time the eruption for the shot?
Watch the pool, not the clock: the swelling bubble dome in the final seconds is the trigger. Pre-focus on the vent, set shutter priority 1/1600 s with bursts armed, and release on the dome. Four full cycles minimum before repositioning — eruption-to-eruption variation beats position-hopping.
Why does my Strokkur column look soft?
Shutter speed. At 1/250 s the moving water reads as smoke; the freeze line is around 1/1000 s, with 1/1600–1/2000 s for crisp droplet structure. Auto-ISO carries the exposure; f/5.6–f/8 keeps depth. The master guide’s “fast shutter” rule is the whole answer.
Can I get close to the vent?
No — the roped perimeter is the boundary, and it is close enough for every essential frame with a 24–70 mm zoom. The water is near boiling and the crust around the vents fails without warning; every rope here marks a real hazard, not a crowd-control convenience.
Is Strokkur worth it if I have seen Geysir photos before?
Yes — it is the only major geyser on the master list, the most reliable eruption schedule in the world, and a genuine action-photography workout in a field full of secondary subjects. Ninety minutes covers four-plus cycles and the pool circuit; the bubble-tell habit alone will improve your action work elsewhere.
The full field list lives in one place
Spot 9 of 20 — the master guide ranks all twenty locations by region, best light and a field tip for each.
Go deeper: the Golden Circle route guide, the Mývatn geothermal guide for the north’s steam fields, and the weather guide for the wind-reading that picks your evening session.
Sources & official references
- Eruption rhythm and column heights: Haukadalur/Geysir visitor area information and published geyser observations (checked 2026).
- Path rules and geothermal safety: on-site signage; the roped perimeter is enforced for crust-failure hazards.
- Weather and wind: en.vedur.is hourly forecasts for the Golden Circle region.
- Bubble-stage technique: editorial photography trips across seasons 2022–2026 by the Iceland Travel Guides team.
- Master list context: Iceland Photography Guide — 20 Best Photo Spots (this site).
